Main Hopyard
After a successful year with the test plots we are now making plans for expansion for 2010. Below is a photo of 4 - 300ft long rows which will be planted next year after we put up a trellis of cedar poles and steel cable.
Breaking ground for the future


Click on any image to enlarge
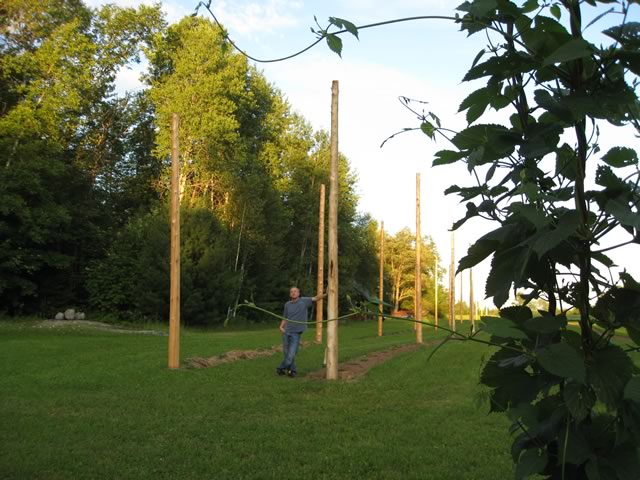
Putting up the poles
Because hops like to grow from ground level to 16-18ft in one season a hopsyard is built of tall poles and cabling to support the hop vines.. We decided to use 20ft white cedar poles supplied locally by another farmer who is also growing hops in our area. In our hard clay soil the holes are only about 3ft deep so the poles are about 17ft in the air.


Click on any image to enlarge
Stringing the top cable
This is where thngs start to get interesting! Because the tops of the poles are about 17 feet in the air someone had to go up in the bucket platform to screw in the ubolt which holds the cable. It helps to have a great crew and someone who is not afraid of heights. I had to build a special platform to fit the bucket to provide the extra height required to reach the top of the poles.


Click on any image to enlarge
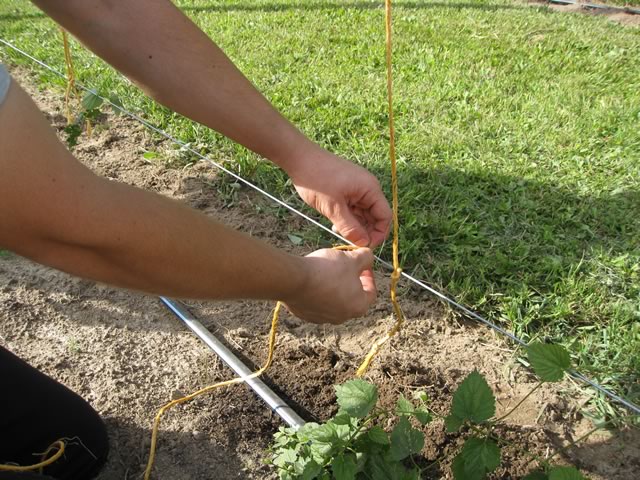
Stringing the bottom wire
This task was relatively easy compared to the top cable as we just spooled the 12 gauge fencing wire out behind the tractor and then used fencing staples to staple it to the poles about 12" from the ground .


Click on any image to enlarge
Stringing/hooking the twine
We use a long telescoping aluminium pole with a small ring magnet to hold the S-hook in place. To prevent the S-hook from tipping over on its side I added another small bar magnet beside it. The twine is looped over the bottom part of the S-hook and the pole is extended carefully into the air until the S-hook is above the wire. The pole is then pulled dowards to release the S-hook from the magnet.


Click on any image to enlarge